
National Get Organized Week is the first week of October in the United States. An entire week devoted to organizing, decluttering, and getting life in order is my Type A dream!
Getting and staying organized can be a challenge. Not enough time in the day, an accumulation of clutter, and not knowing how to get started are just a few of the barriers that arise when it comes to getting organized. It’s time to knock those barriers down! Here are the tools you need to get started, a simple way to prioritize time for your organization needs, and seamless methods for reducing clutter.
I put together a step-by-step guide to help you dive into getting organized. Full disclosure, your life isn’t going to be completely organized by the end of the week, but you will have the tools you need to start getting organized and stay organized in the long-term. National Get Organized Week is the perfect time to get started, so let’s dive in!
A Guide for National Get Organized Week
1. Make a list so you can plan accordingly and hold yourself accountable.
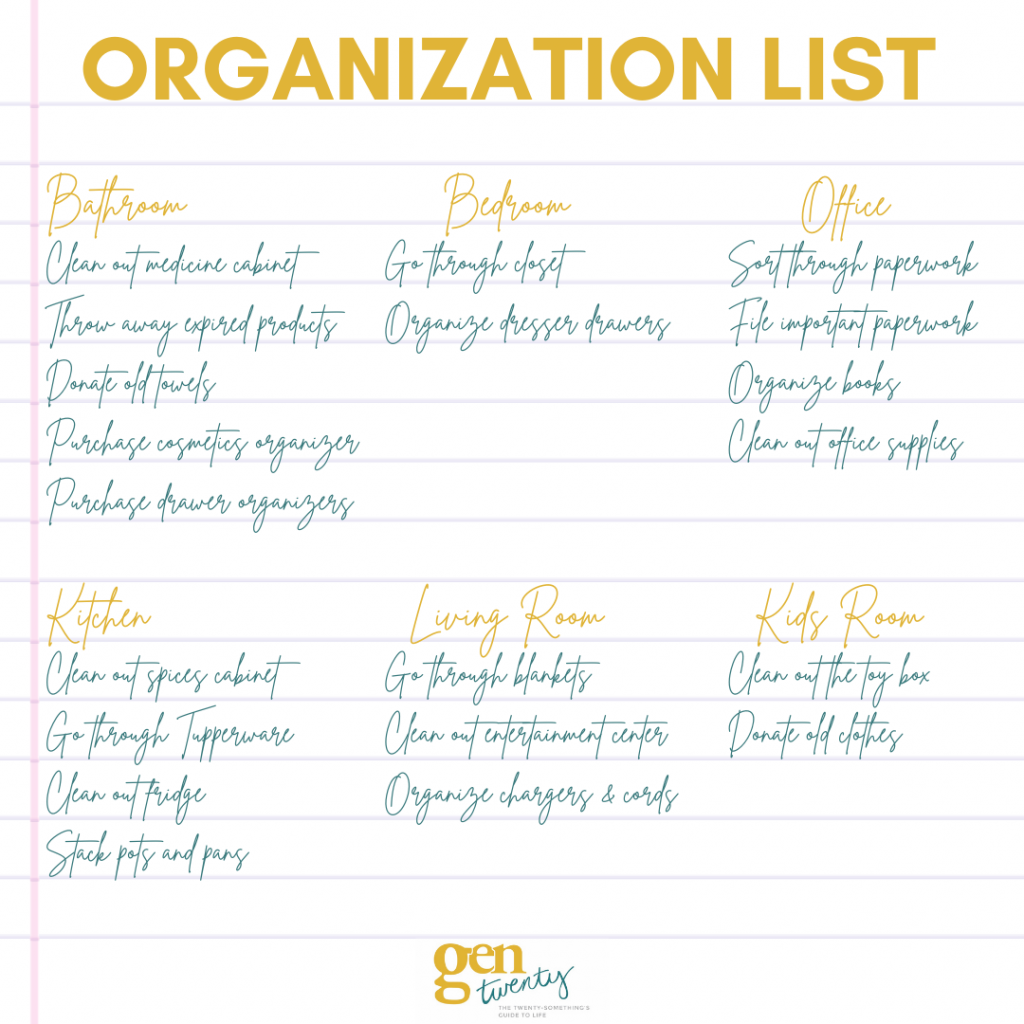
The first step to organizing your space is to organize your thoughts and make a plan! Grab a notepad and pen because the first thing we’re going to do is make a list of all the things that we want to organize. Whether you live in an apartment or house, walk through room-by-room and list out everything you want to organize or declutter. You can do the same for your workspace if you want to get organized at work! Spend time carefully evaluating each room to decide what needs your attention either in the short-term or the long-term. Take as much time as you need to create your list.
If your list gets long, that’s okay! You aren’t going to tackle every item on the list right away. Instead, you will have an ongoing list of action items written down so you can revisit them and accomplish all of the tasks on your list over time.
2. Dedicate a set amount of time you can spend organizing per day each week and add it to your calendar or planner.
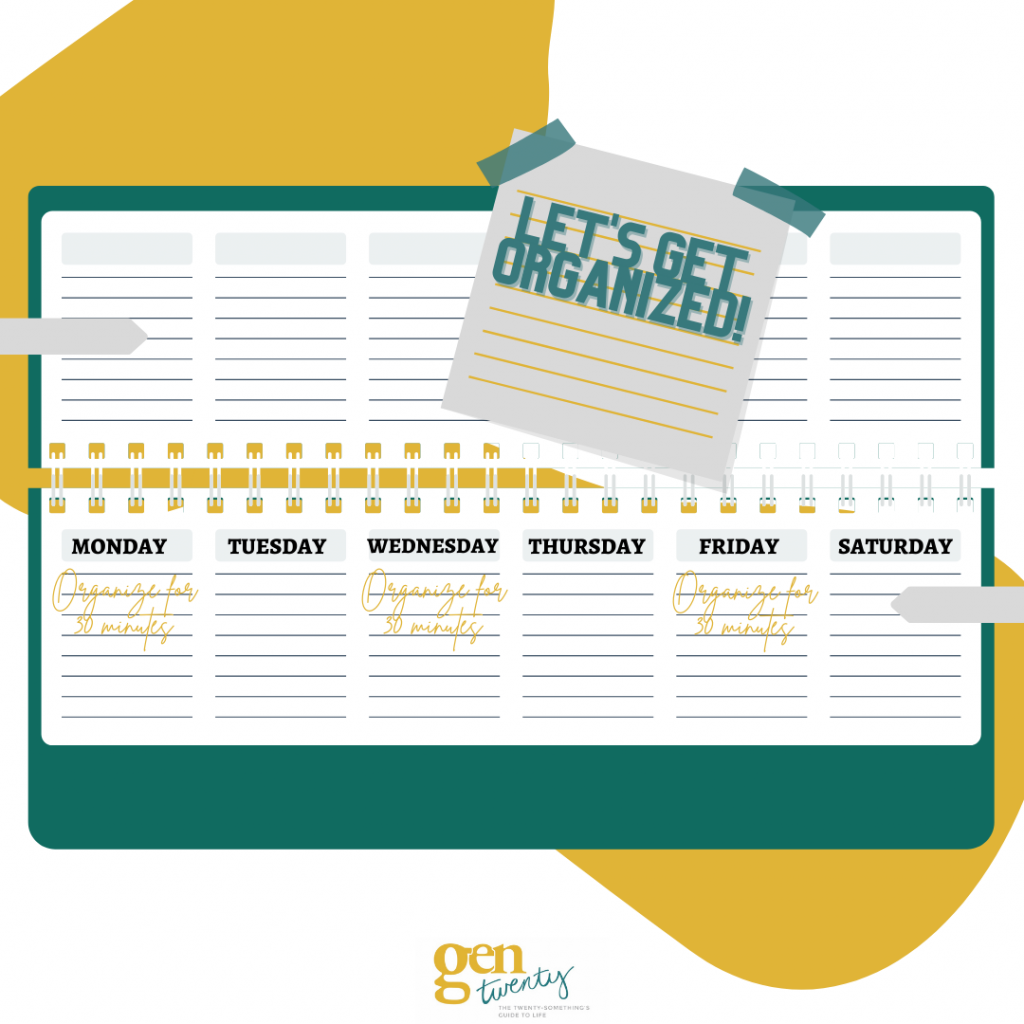
I am a firm believer in the power of time blocking, especially when it comes to organization. I can’t count the number of times I’ve thought about organizing my closet, cabinets in the kitchen, or drawers in the bathroom, only to find myself buried in a mess six hours after starting. It can be easy to get sucked into a trap of cleaning out everything you own when you dive headfirst into organizing your life. The best way to combat spending too much of your time without achieving results is to set time limits for yourself and stick to them!
Once you’ve chosen an amount of time that you can commit to each day, be sure to add it to your calendar. You’ll want a timeframe where you can work on your organization list uninterrupted, so be sure to plan accordingly. Hold yourself accountable to the time limits you set by setting alarms to notify you when time is up.
3. Prepare designated trash, recycle, and donation bins.

Be proactive and prepare bins or bags for trash, recyclables, and donation items. Clearly label your bins or bags and keep them nearby as you move through each room and start chipping away at your to-do list.
4. Choose at least one small, achievable item in each room on your list to tackle this week and get it done.
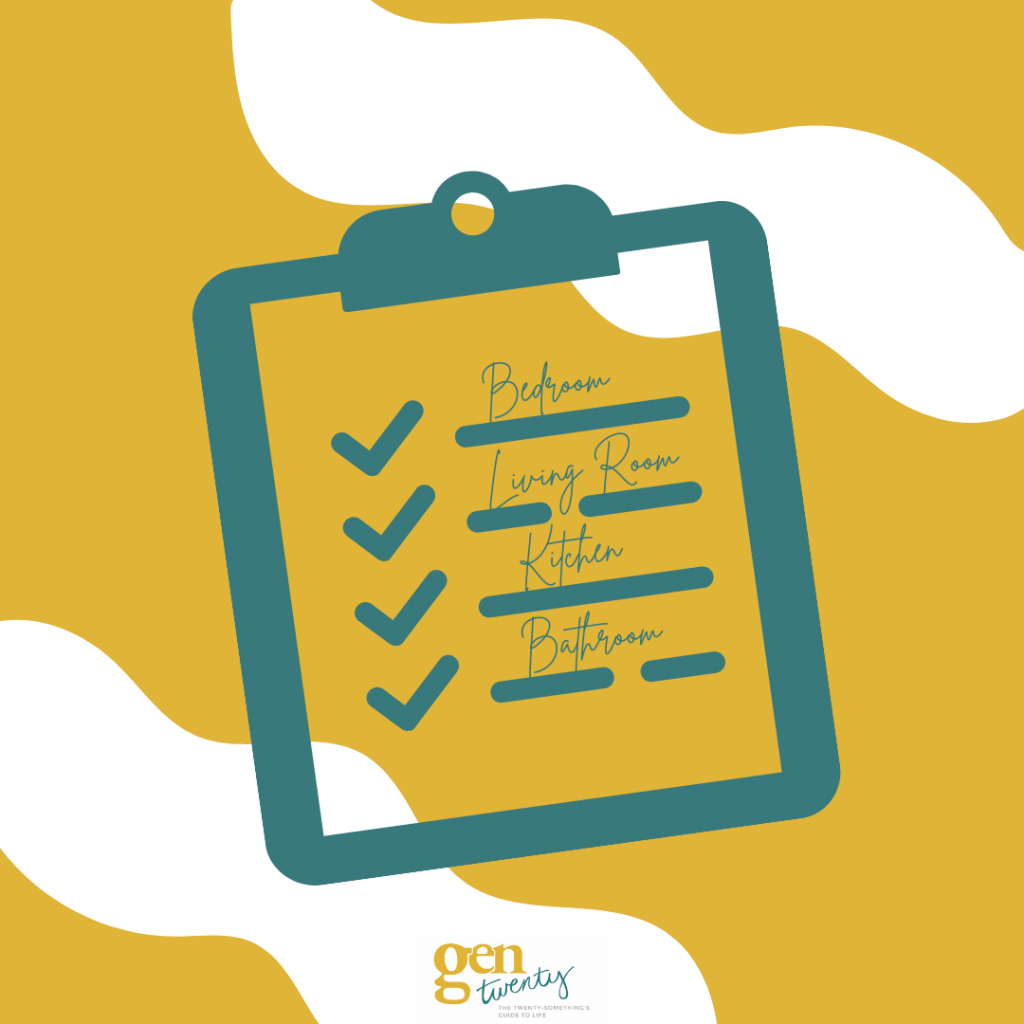
Progress occurs in baby steps. To prevent overwhelm, commit to achieving at least one small organization task in each room on your list this week during your designated time block. Even if the tasks you choose are small and seem unnoticeable, these small accomplishments will add up in the long haul. Use the momentum from this week’s tasks to encourage you to keep organizing over the coming weeks and months.
Here are the tasks I’m committing to in my apartment room-by-room:
- Go through the items on my nightstand and put away unneeded items/donate unwanted items (Bedroom)
- Clean out the spice cabinet and eliminating expired products/add spice organizer rack to the cabinet (Kitchen)
- Clean out towels and linens and donate unwanted items (Bathroom)
- Organize the bookshelf and donate books no longer needed (Living Room)
5. Set progress checks with yourself over time.

Don’t give up after week one! Continue chipping away at your organization to-do list. Hold yourself accountable by adding reminders to the calendar to do a self-check-in. I recommend evaluating your progress and plan in two weeks, one month, and three months to start. But ultimately choose a timeline that fits your needs and schedule. When checking in with yourself, consider the following:
- Is the amount of time you are spending organizing your home working with your schedule? Do you need to adjust the amount of time you can commit to for any reason?
- Is your donation bin getting full? Do you need to set up a donation pickup or drop-off?
- Is it time to empty your trash and recycle bins?
Getting organized is easier than it seems, even if it feels overwhelming and daunting at first. Try my step-by-step guide for getting organized and let me know if it works for you in the comments.
About the Author
Alyssa graduated from the University of Colorado Colorado Springs in 2016 with a Bachelor of Arts in Psychology and a Bachelor of Arts in Criminal Justice. She uses her training in change management to write internal communications, future of work, and career content that helps people change their behaviors and habits. To honor her late grandparents, she writes Time Intentional, a collection of reflections, ideas, and inspiration about what it means to live intentionally at www.timeintentional.com. When she isn't writing, Alyssa enjoys trying new restaurants with her husband, playing with her Bengal cats, adventuring outdoors, or reading a book from her TBR list.
Website: https://www.wordswithalyssa.com/