
How to Handle Household Water Spills and Prevent Moisture Damage
Water spills and leaks rarely look like a big deal at first. A puddle on the kitchen floor, a damp spot under the sink—easy enough to wipe up, right? The trouble is that moisture trapped in flooring, furniture, or other porous materials can keep causing damage long after the surface looks clean. The core principle behind effective water cleanup hasn't changed much over the years: remove standing water, dry affected materials quickly, and address whatever is causing the moisture in the first place. For spills on suitable hard flooring, some households reach for absorbent towels or a mop, while others turn to a wet & dry vacuum as one option for lifting standing liquid from compatible surfaces. Whatever tools you use, the goal stays the same—assess the situation, remove the water safely, dry everything thoroughly, clean appropriately, and recognize when it's time to call in a professional.
Assess the Spill or Leak Before Cleaning
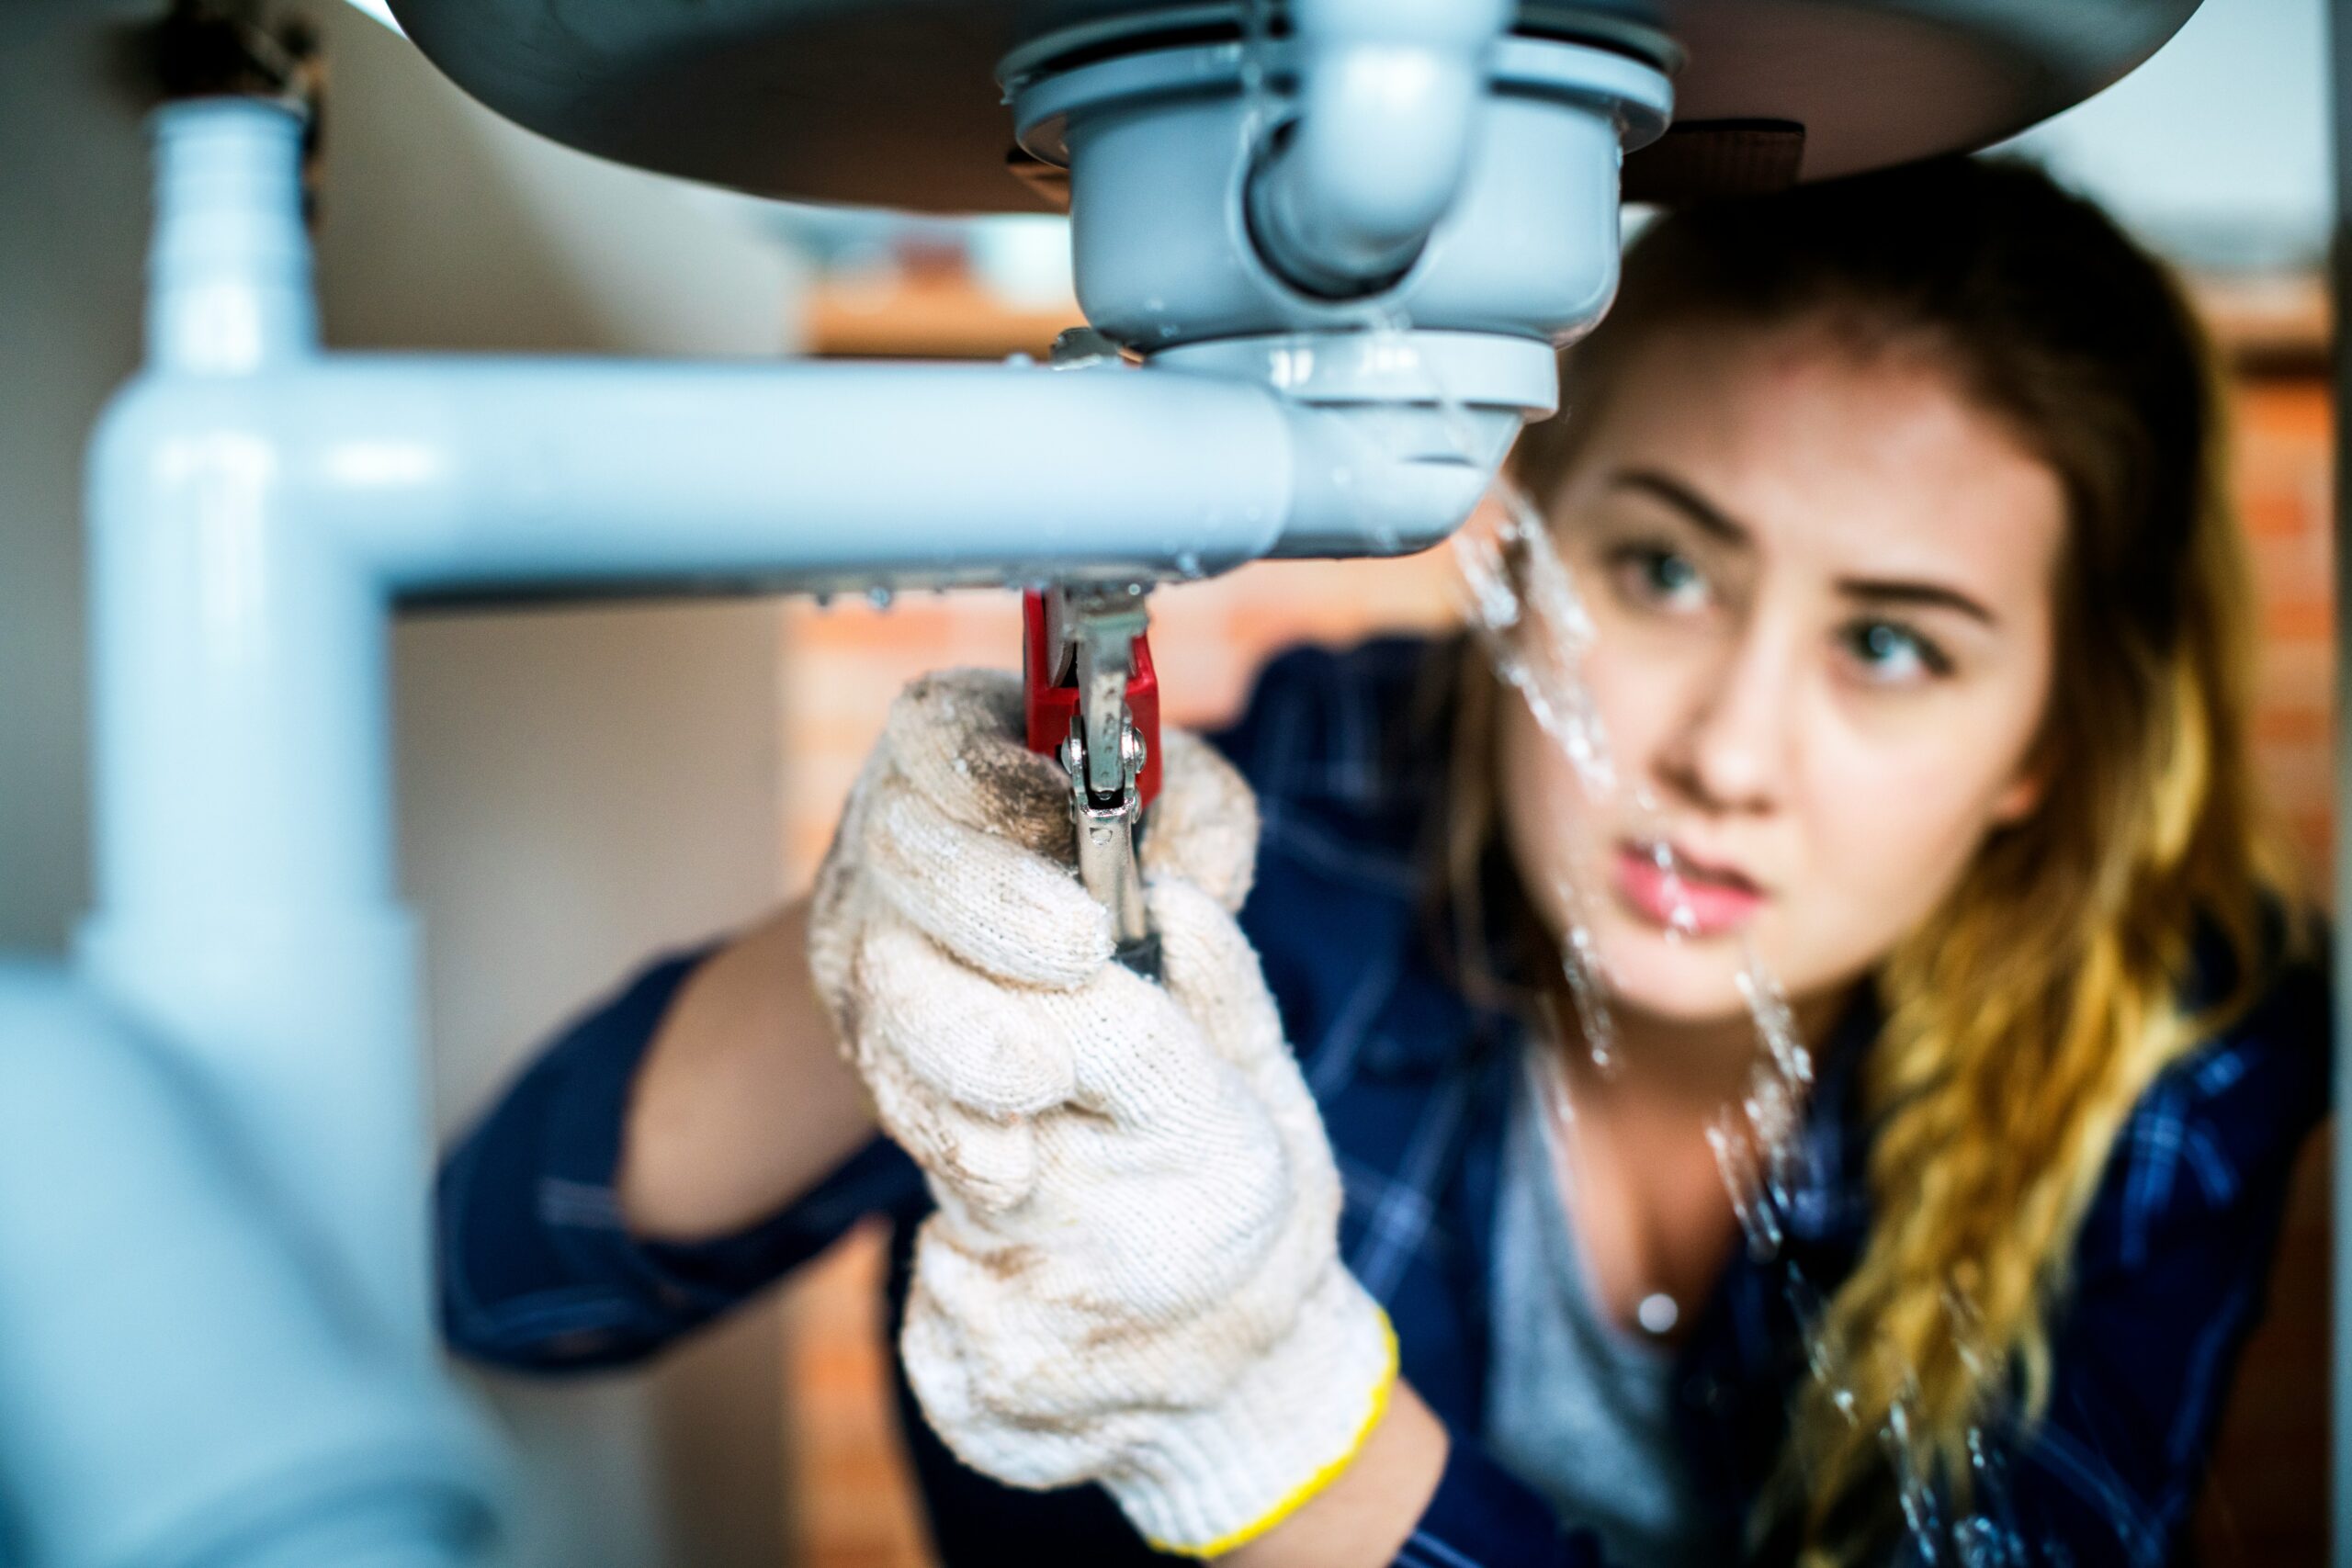
Identify the source. Household water problems generally fall into a handful of categories: accidental spills, appliance leaks, plumbing failures, and water intrusion from roofs, windows, or the exterior of the home. Drying the affected area without fixing what caused it in the first place is a bit like bailing out a boat with a hole still in the hull—the problem tends to come right back. If a leak seems persistent or the source is hidden behind walls or under flooring, document what you're seeing and get a qualified plumber or contractor involved.
Evaluate the type of water. Clean water from a dropped glass or a slow drip under a supply line is a very different animal than water contaminated by sewage, flooding, or an unknown source. Contaminated water should never be handled casually—it can carry bacteria and other hazards that call for specialized cleanup rather than a quick mop job.
Check for electrical risks. Standing water near outlets, cords, appliances, or electrical panels is a serious hazard, full stop. Don't operate electrical equipment in or near wet areas unless you're certain the power is safely off, and when in doubt, call an electrician or emergency service. Electrical safety should always come before cleanup speed, no exceptions.
Remove Standing Water Safely
Small spills can usually be managed with towels or absorbent cloths. Larger volumes may call for mopping, pumping, or extraction equipment suited to the surface involved. Not every vacuum is built to handle liquid, so any equipment should be used strictly according to the manufacturer's instructions and on the surfaces it's actually designed for.
While you're removing water, move furniture, rugs, and boxes out of the wet area, and if something can't be relocated right away, place protective barriers under its legs. Try not to track water into unaffected rooms as you work. Waterproof gloves and eye protection are reasonable precautions for general cleanup, and respiratory protection becomes more important once mold, sewage, or significant contamination enters the picture.
Dry the Area Completely
Open doors and windows, run fans, and use dehumidifiers when conditions allow, directing airflow across the wet surface rather than just aiming it at one spot. That said, if visible mold or heavily contaminated water is present, fans can spread contaminants around—so hold off until the area is properly contained.
Check the spots that get overlooked most often: under rugs and padding, beneath cabinets and appliances, along baseboards and flooring seams, and inside wall cavities. A surface can feel perfectly dry to the touch while the material underneath stays damp, so a visual check, a hands-on feel, or a moisture meter can help confirm you've actually gotten the job done.
Public health agencies commonly advise drying wet materials promptly—often within 24 to 48 hours—to cut down on the chances of mold growth, though the actual timeline depends on temperature, humidity, the type of material, and how much water is involved.
Clean Different Materials Correctly
Hard, nonporous surfaces can typically be cleaned with water and an appropriate detergent, followed by thorough drying; any visible residue should be removed outright rather than painted, caulked, or floored over. Never mix bleach and ammonia or other incompatible cleaning products, and always follow label instructions to the letter.
Carpets, upholstery, and other porous materials have a way of holding onto moisture deep inside their padding or fibers, and anything that can't be fully cleaned and dried—especially after a contaminated flood—may simply need to be thrown out. Wood and laminate flooring can swell, cup, or stain when wet, so remove surface water promptly, allow for air circulation, and bring in a professional to assess any extensive warping or moisture trapped beneath the flooring.
Prevent Mold and Recurring Moisture Problems
Controlling mold means doing two things at once: cleaning what's already there and fixing whatever moisture source caused it, whether that's repairing a leak, improving ventilation, sealing a vulnerable spot, or keeping gutters and drainage clear. Indoor humidity in bathrooms, kitchens, basements, and laundry areas can usually be kept in check with ventilation, exhaust fans, or dehumidification suited to the space and climate.
Keep an eye out for early warning signs—musty odors, discoloration, peeling paint, bubbling flooring, repeated condensation, or dampness that just won't go away. Worth noting: odor alone can't tell you the type or extent of any mold contamination present.
When to Contact a Professional
It's worth bringing in professional help for extensive flooding, sewage or contaminated water, moisture trapped inside walls or HVAC systems, large areas of visible mold, structural damage, recurring leaks, or situations involving vulnerable occupants. Professionals typically rely on moisture measurement tools, controlled drying equipment, and containment procedures that go well beyond what a homeowner has on hand. Before hiring anyone, verify their credentials and insurance, and get a written scope of work.
Practical Scenario: Responding to a Kitchen Appliance Leak
Picture a dishwasher that starts leaking onto the kitchen floor. The reasonable response looks something like this: stop the appliance if it's safe to do so, check for electrical hazards, remove the standing water, move nearby items out of the way, and dry the floor, cabinets, and toe-kicks. Inspect for swelling or hidden moisture, then repair the leaking connection before putting the appliance back into normal use. Cleanup and fixing the underlying cause are two separate steps—and both matter just as much as the other.
Key Takeaway: Rapid water removal helps limit damage, but it's the complete drying and the repair of the underlying cause that actually keep long-term problems like warping, staining, and mold growth at bay.
Immediate Response Sequence
- Stop the source if safe.
- Check for electrical hazards.
- Remove standing water.
- Improve airflow and dehumidification.
- Inspect hidden areas.
- Clean or remove affected materials.
Do Not
- Use ordinary vacuum equipment for liquid unless it's specifically designed for that purpose.
- Mix cleaning chemicals.
- Ignore damp materials hidden beneath flooring or furniture.
- Attempt contaminated-water cleanup without appropriate protection.
A Simple Routine for Safer Cleanup
Assess the water, make the area safe, remove the moisture, dry everything thoroughly, clean compatible materials, and repair whatever caused the problem. Speed matters, but never at the expense of electrical or contamination safety. Keeping basic protective equipment, absorbent materials, and a clear response plan on hand can make minor household water incidents far easier to manage—and go a long way toward stopping them from turning into bigger ones.